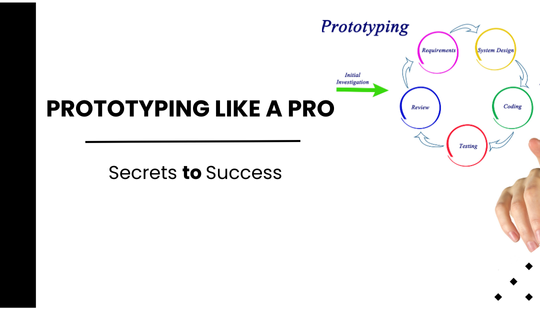
Prototyping Like a Pro: Secrets to Success
In the fast-paced world of digital design, prototyping is a critical step that bridges the gap between ideas and tangible products. At Flykez CO, a leading creative brand company in Lithuania, we excel in transforming concepts into functional prototypes. Our expertise spans website design & development, search engine optimization, brand design & brand identity, digital marketing, and UI & UX design. This blog post unveils the secrets to successful prototyping, focusing on techniques that can elevate your design process.
Understanding Prototyping
Prototyping is the process of creating an early model of a product to test its concepts and functionalities. This practice allows designers and developers to explore ideas, gather feedback, and iterate before finalizing the product. Whether you’re dealing with 3D prototypes, wireframes, or high-fidelity models, mastering the art of prototyping is essential for any design project.
Choosing the Right Prototyping Tools
Selecting the right tools is the foundation of successful prototyping. Here are some top tools that can help you create realistic and functional prototypes:
- Figma: Known for its collaborative features, Figma allows designers to create interactive prototypes and gather feedback in real-time.
- Adobe XD: Ideal for creating high-fidelity prototypes, Adobe XD offers a range of features for designing, prototyping, and sharing interactive experiences.
- Sketch: A popular choice for UI design, Sketch supports both wireframing and detailed design work, with various plugins to enhance prototyping capabilities.
- InVision: Perfect for building interactive prototypes and collecting feedback, InVision integrates seamlessly with other design tools like Sketch and Photoshop.
- Blender: For 3D prototypes, Blender provides extensive features for modeling, animation, and rendering.
Steps to Prototyping Like a Pro
1. Start with Low-Fidelity Prototypes
Begin your prototyping process with low-fidelity prototypes. These basic sketches help you outline the layout and structure without getting bogged down by details. Low-fidelity prototypes are quick to create and easy to modify, making them ideal for initial brainstorming and feedback sessions. Also Read About How to Create Realistic Prototypes Without Coding
- Tools: Balsamiq, Sketch, Figma
2. Develop High-Fidelity Prototypes
Once you have validated the basic structure with low-fidelity prototypes, transition to high-fidelity prototypes. These prototypes include detailed design elements such as colors, typography, and images, providing a more realistic representation of the final product.
- Tools: Adobe XD, Figma, Sketch
3. Add Interactivity
Enhance your prototypes by adding interactive elements like clickable buttons, hover effects, and transitions. Interactive prototypes allow users to experience the flow and functionality of the design as if it were a real product.
- Tools: InVision, Figma, Adobe XD
4. Incorporate 3D Elements
For products that require a more immersive experience, incorporate 3D elements into your prototypes. 3D prototypes provide depth and realism, making them ideal for complex designs such as virtual environments and detailed product models.
- Tools: Blender, Adobe Dimension
5. Use Rapid Prototyping Techniques
Rapid prototyping involves quickly creating and testing prototypes to refine the design iteratively. This approach allows you to gather feedback and make improvements continuously, ensuring that the final product meets user needs.
- Tools: Figma, InVision, Sketch
Best Practices for Prototyping Success
1. Focus on User Experience (UX)
Ensure that your prototypes are user-centric by focusing on the user experience. Conduct usability testing to gather feedback and identify areas for improvement. This iterative process helps in creating designs that are intuitive and user-friendly.
2. Collaborate with Your Team
Collaboration is key to successful prototyping. Use tools that support real-time collaboration and feedback, allowing team members to contribute their insights and expertise.
3. Iterate Based on Feedback
Continuously iterate on your prototypes based on feedback from users and stakeholders. This iterative approach helps in refining the design and addressing potential issues before development begins.
4. Document the Prototyping Workflow
Maintain clear documentation of your prototyping workflow, including the tools used, iterations made, and feedback received. This documentation serves as a valuable reference for the development team and ensures consistency throughout the project.
Conclusion
Mastering the art of prototyping is essential for transforming ideas into successful products. By choosing the right tools, starting with low-fidelity prototypes, developing high-fidelity prototypes, adding interactivity, and incorporating 3D elements, you can create realistic and functional prototypes that effectively communicate your vision. At Flykez CO, we leverage our expertise in prototyping to deliver innovative and user-centric digital products. For more information about our services, visit our website at www.flykez.com. Let Flykez CO be your partner in creating exceptional digital experiences.
